Programmatic API access with Postman
This guide will help you test the ClickHouse Cloud API using Postman. The Postman Application is available for use within a web browser or can be downloaded to a desktop.
Create an account
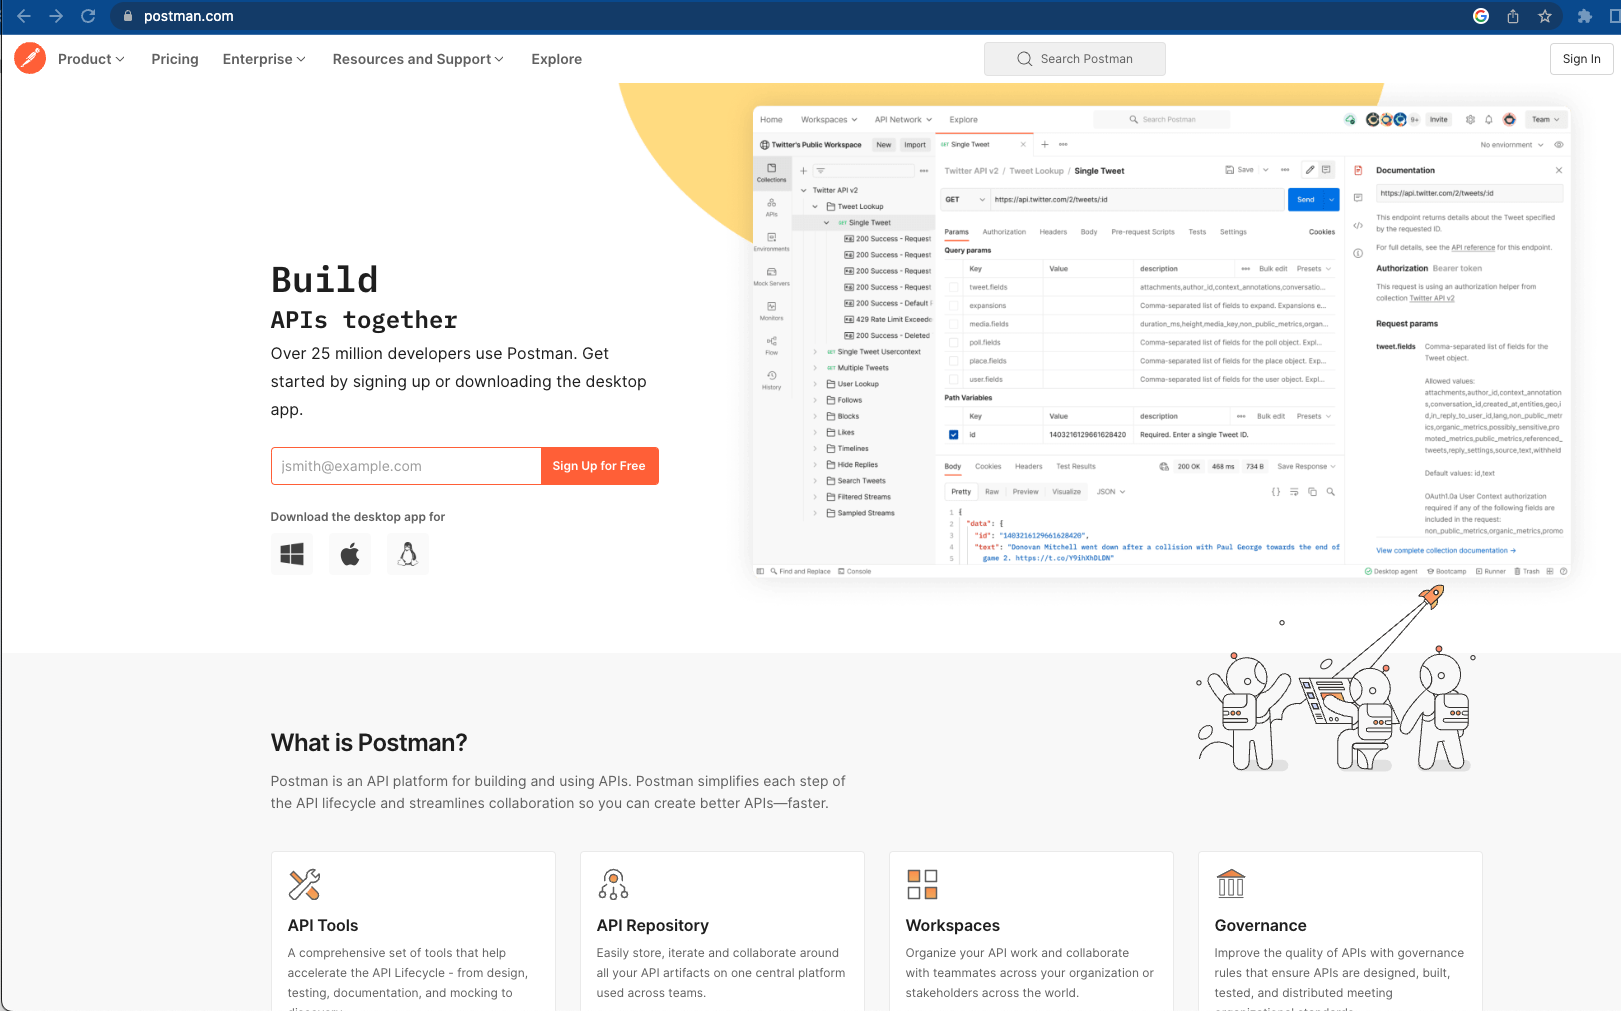
- Free accounts are available at https://www.postman.com.
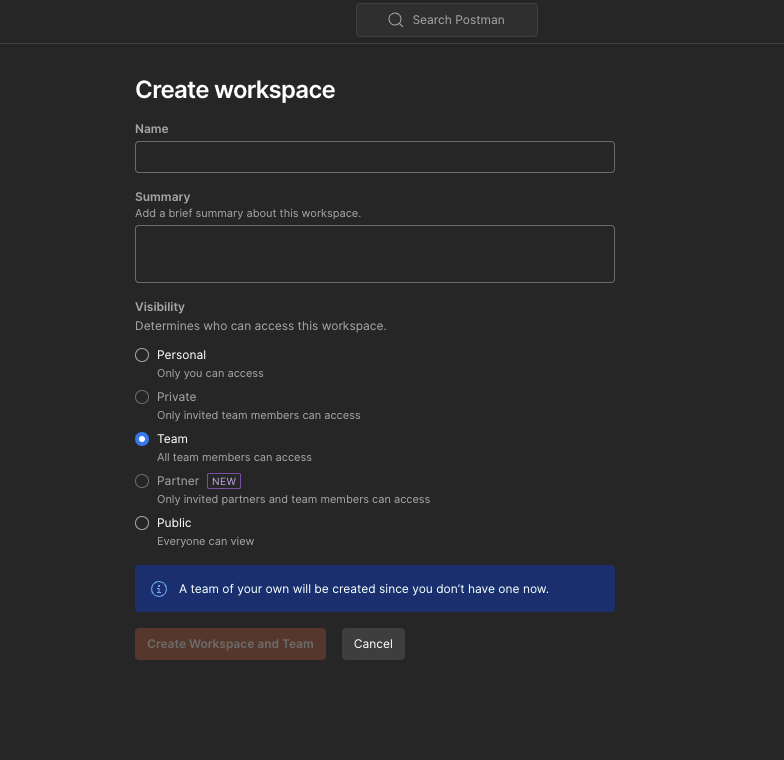
Create a Workspace
- Name your workspace and set the visibility level.
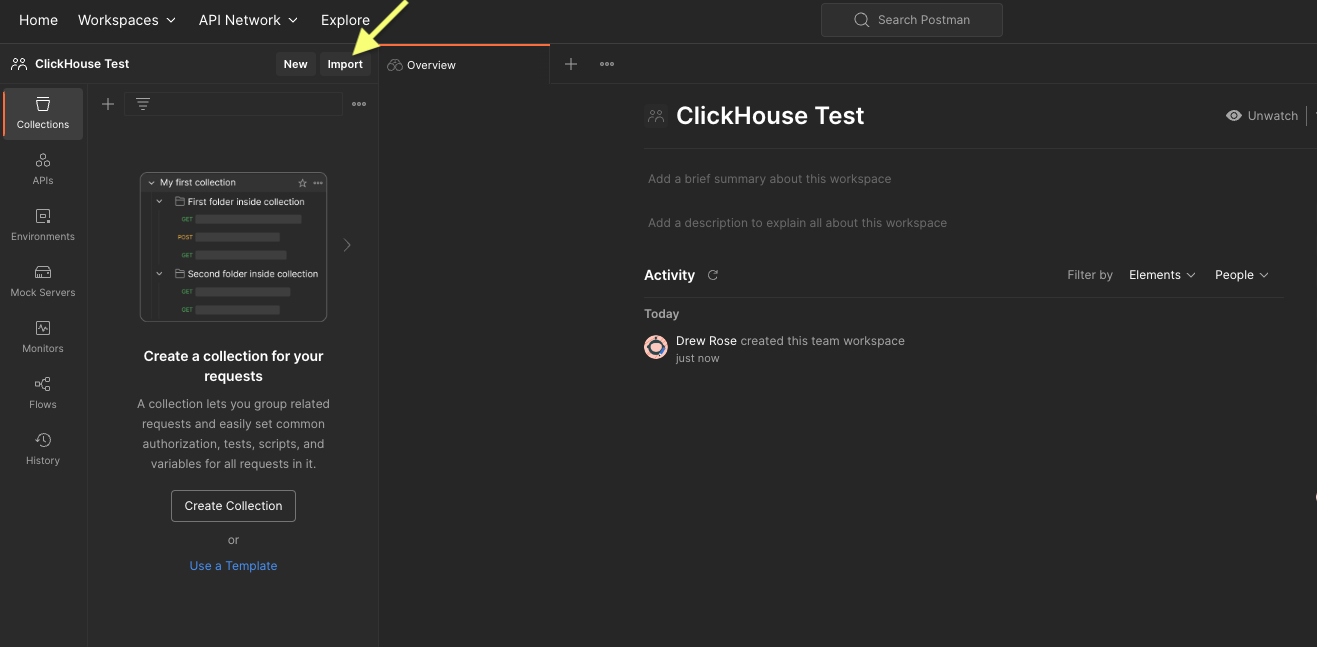
Create a Collection
Below “Explore” on the top left Menu click “Import”:
A modal will appear:
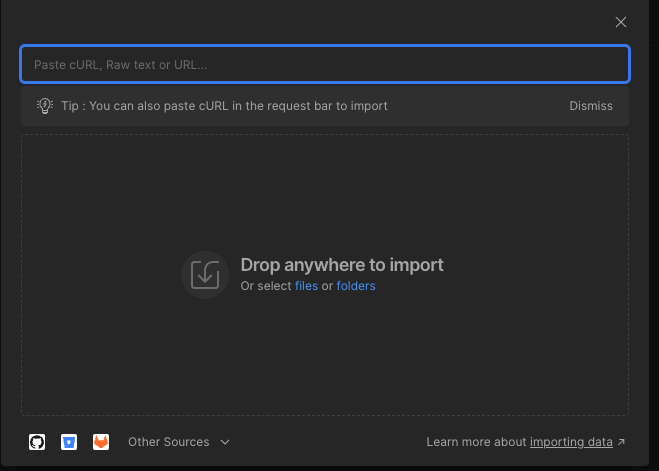
Enter the API address: “https://api.clickhouse.cloud/v1” and press 'Enter':
Select “Postman Collection” by clicking on the “Import” button:
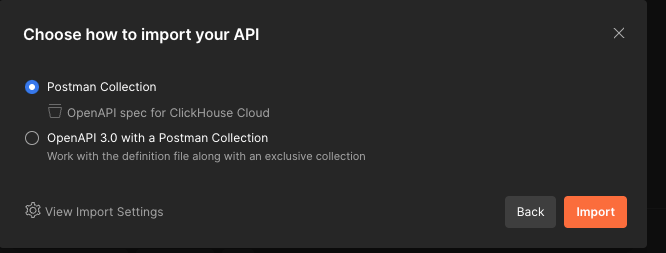
Interface with the ClickHouse Cloud API spec
The “API spec for ClickHouse Cloud” will now appear within “Collections” (Left Navigation).
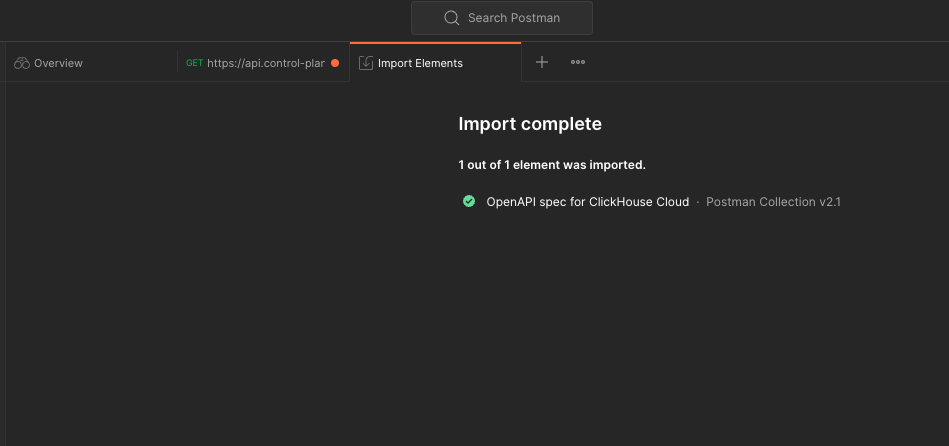
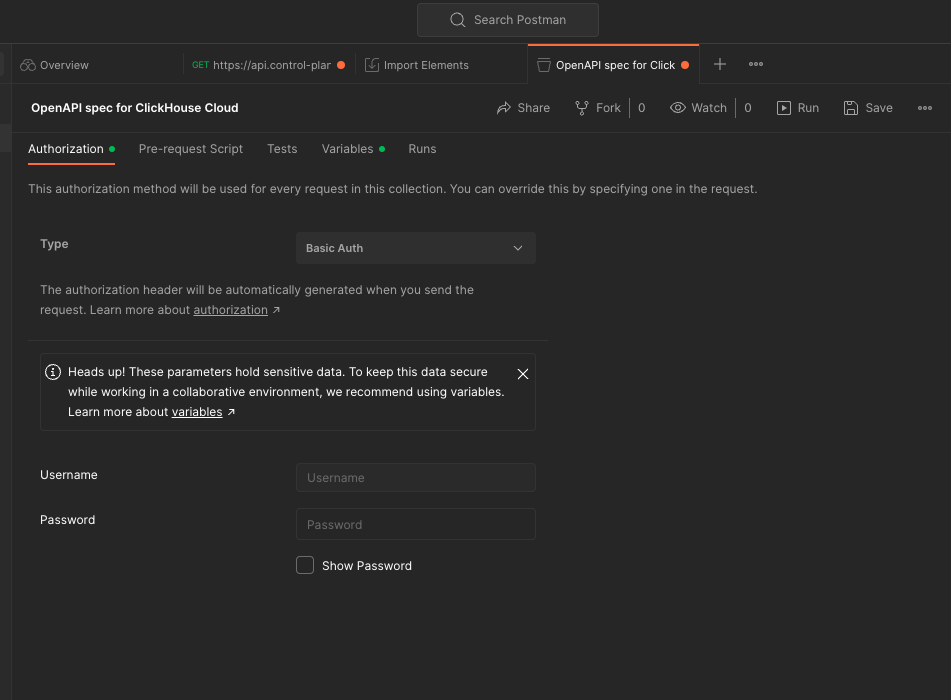
Click on “API spec for ClickHouse Cloud.” From the middle pain select the ‘Authorization’ tab:
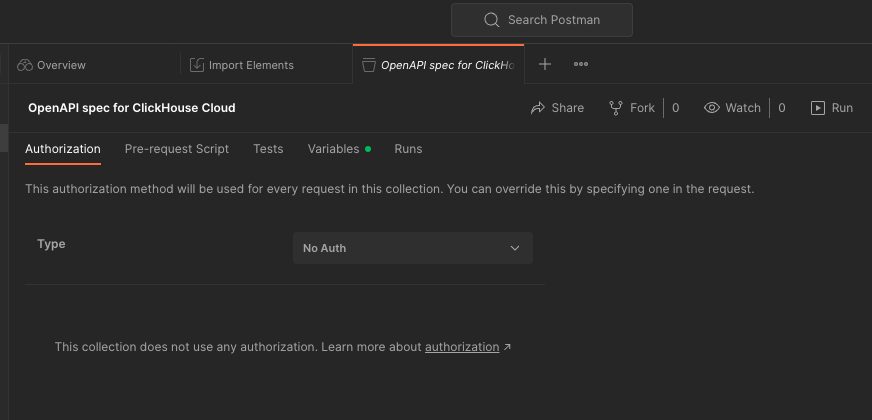
Set Authorization
Toggle the dropdown menu to select “Basic Auth”:
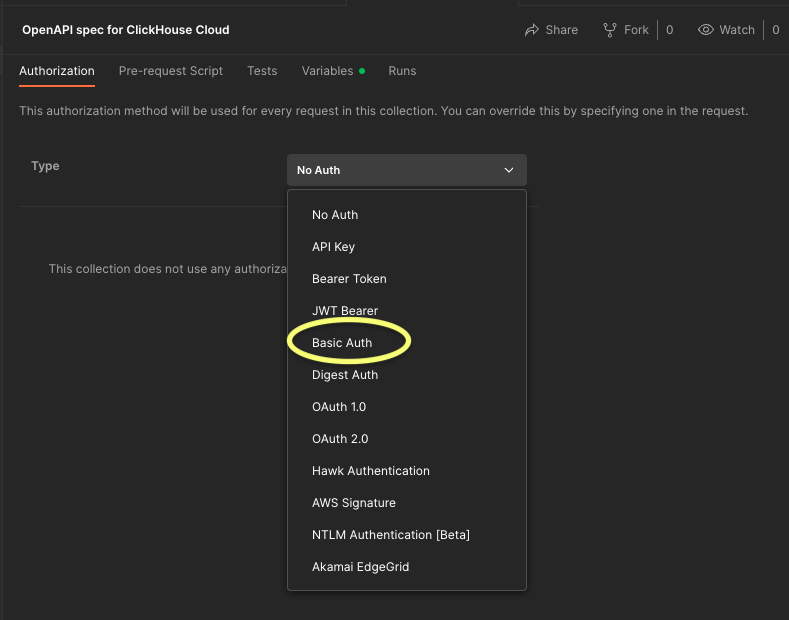
Enter the Username and Password received when you set up your ClickHouse Cloud API keys:
Enable Variables
- Variables enable the storage and reuse of values in Postman allowing for easier API testing.
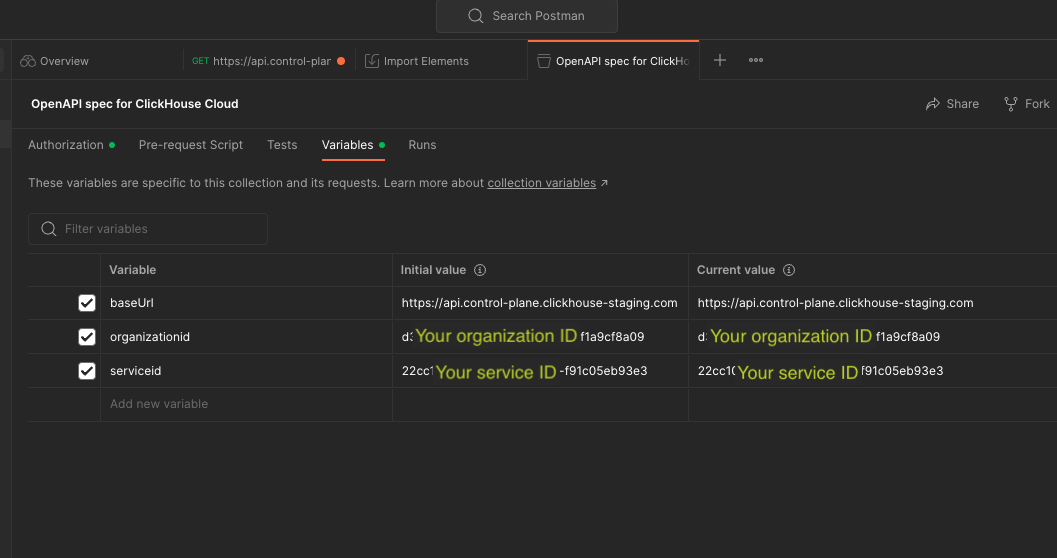
Set the Organization ID and Service ID
- Within the “Collection”, click the “Variable” tab in the middle pane (The Base URL will have been set by the earlier API import):
- Below “baseURL” click the open field “Add new value”, and Substitute your organization ID and service ID:
Test the ClickHouse Cloud API functionalities
Test "GET list of available organizations"
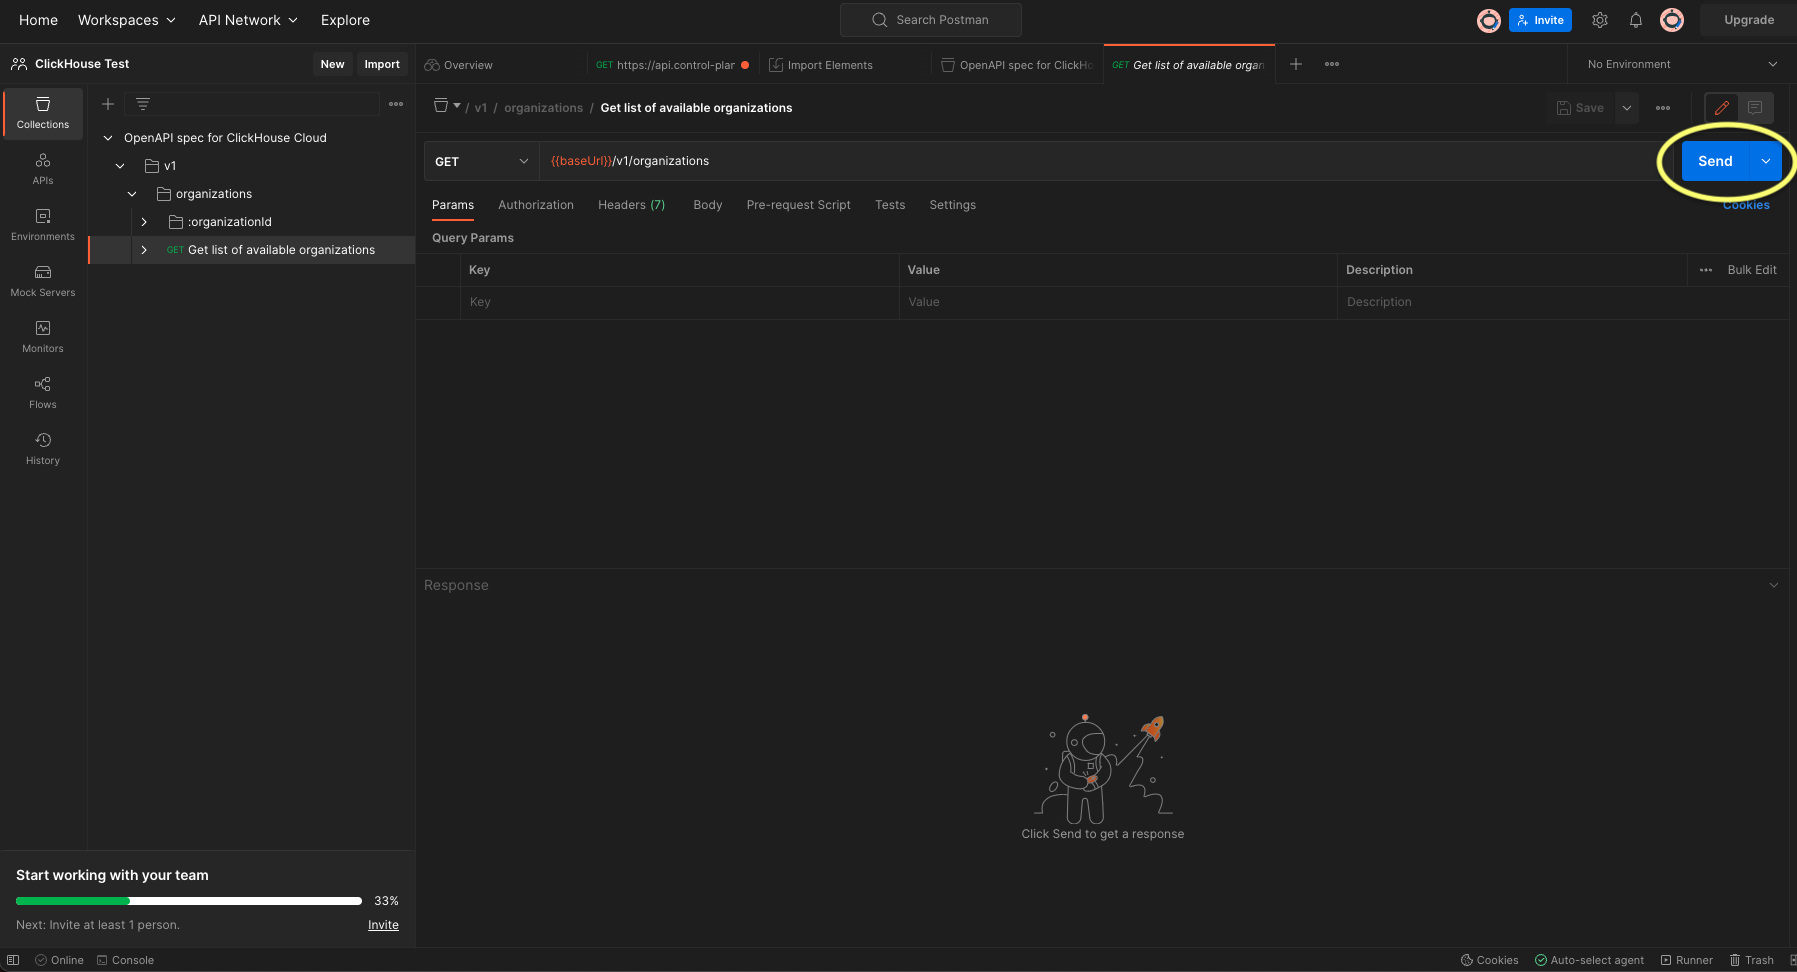
- Under the “OpenAPI spec for ClickHouse Cloud”, expand the folder > V1 > organizations
- Click “GET list of available organizations” and press the blue "Send" button on the right:
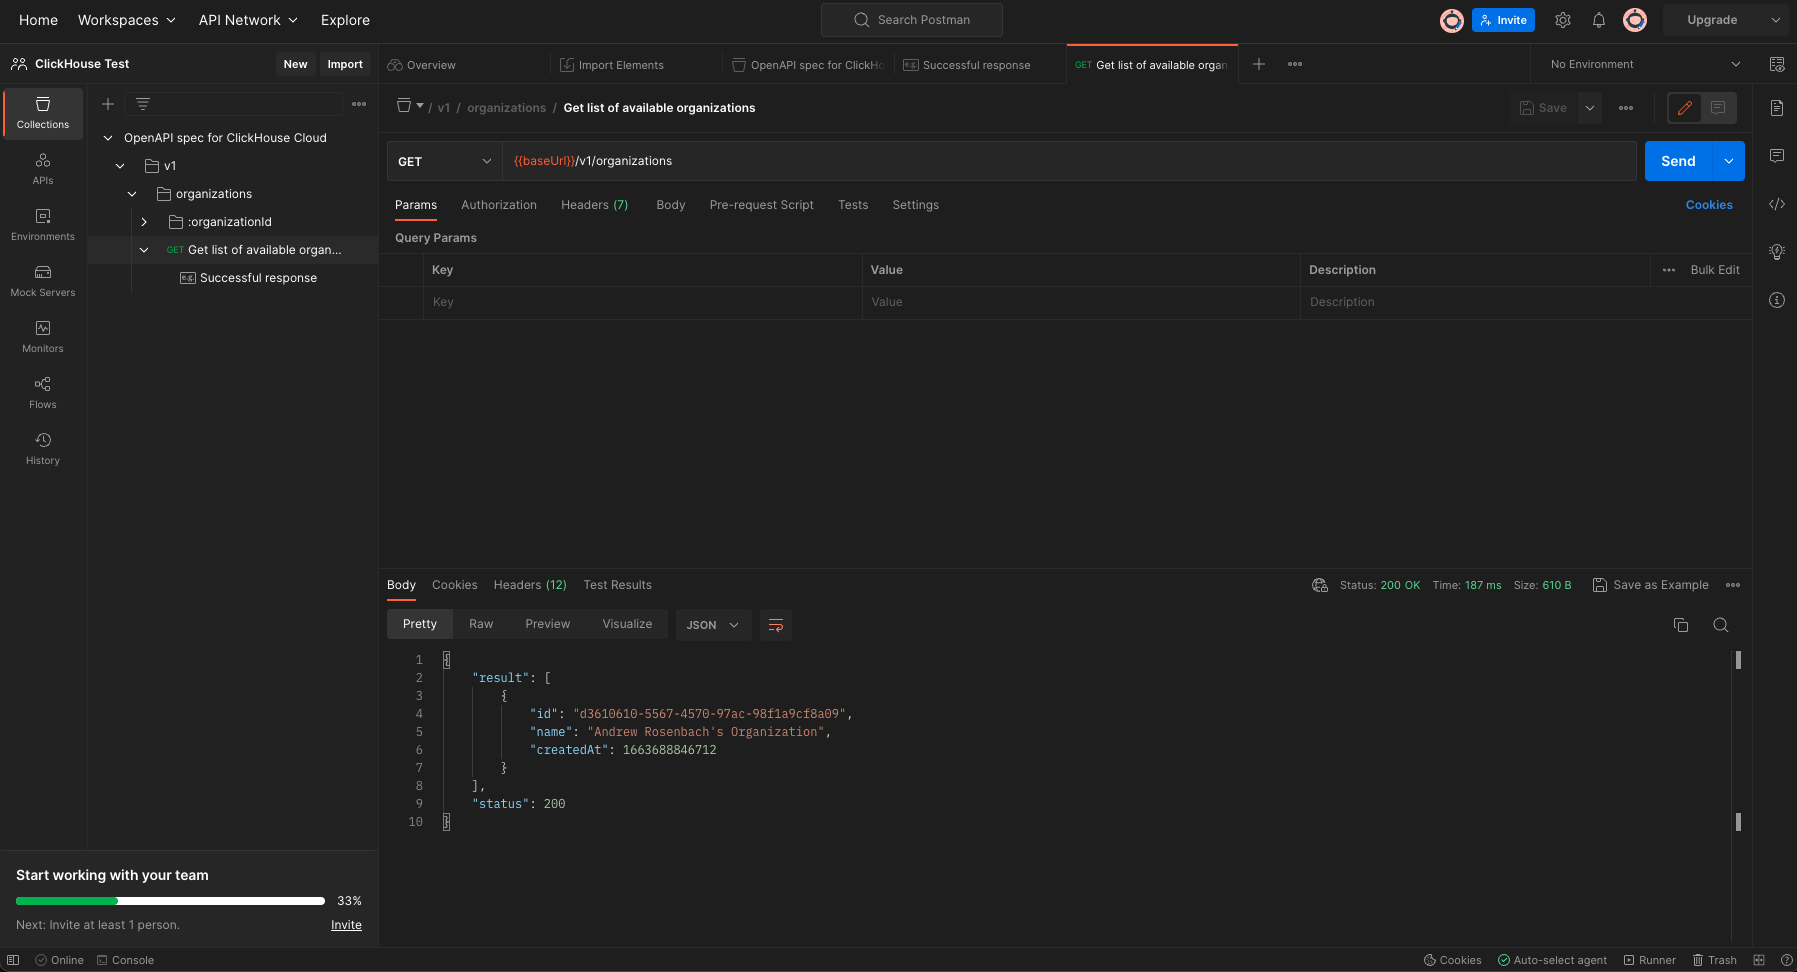
- The returned results should deliver your organization details with “status”: 200. (If you receive a “status” 400 with no organization information your configuration is not correct).
Test "GET organizational details"
- Under the organizationid folder, navigate to “GET organizational details”:
- In the middle frame menu under Params an organizationid is required.
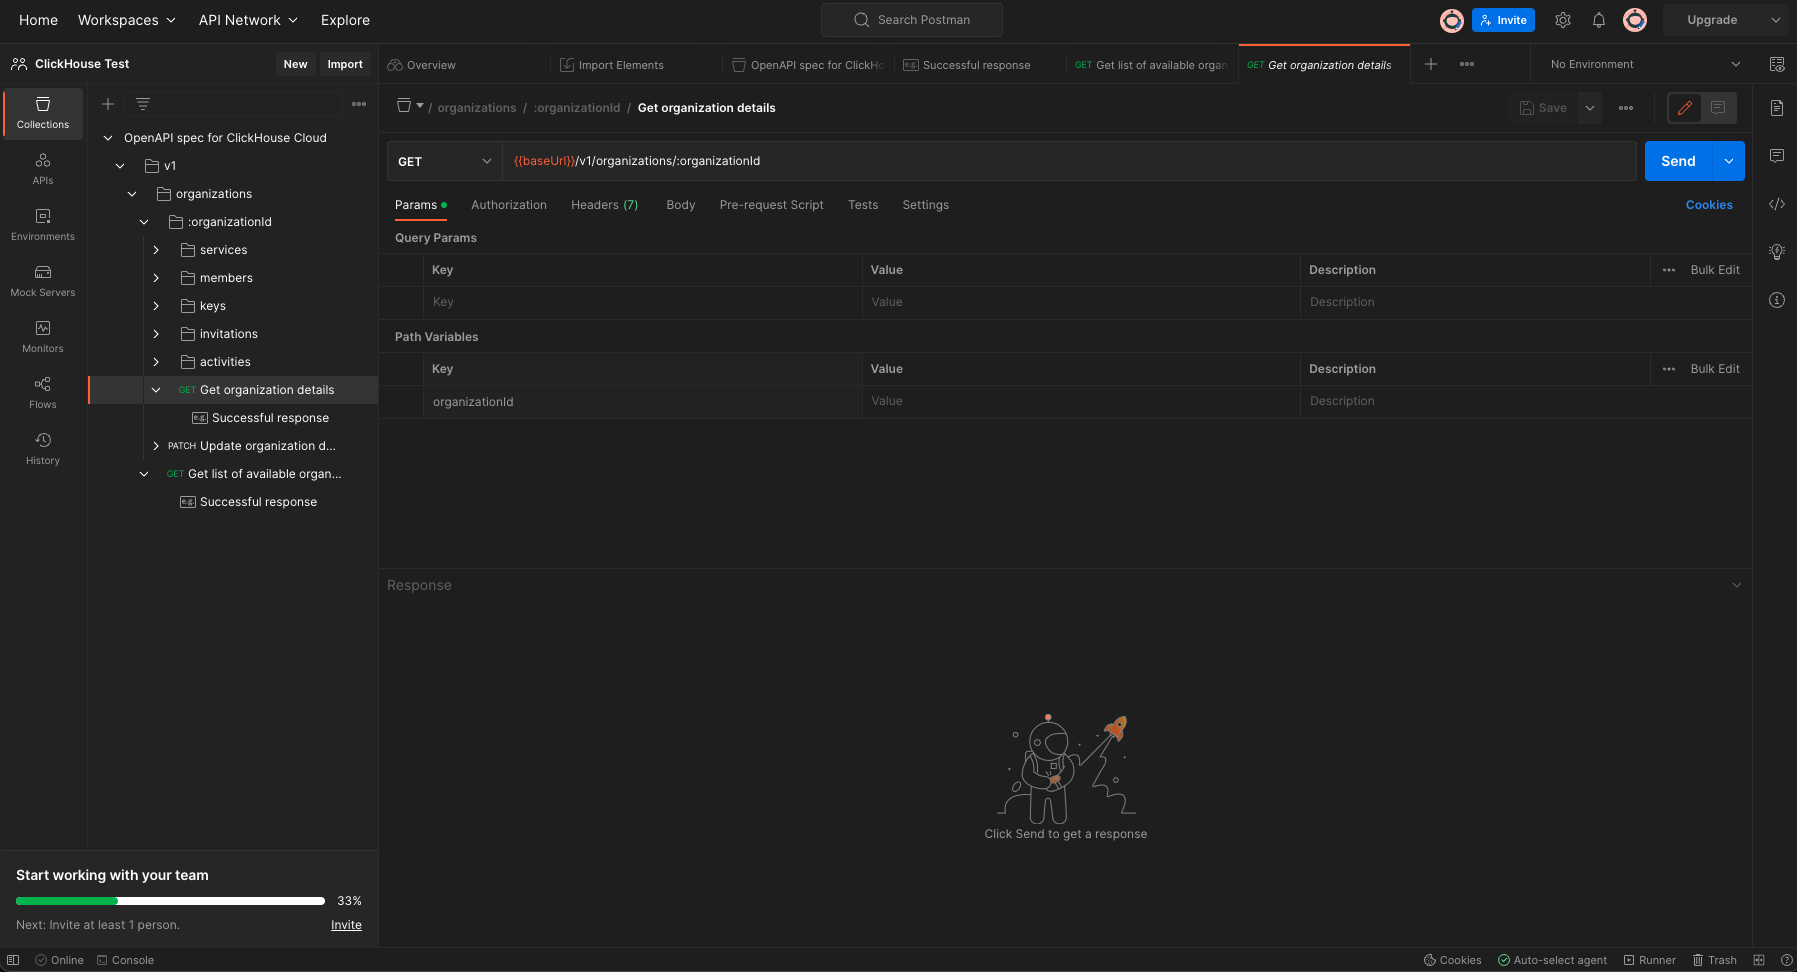
- Edit this value with "orgid" in curly braces "{{orgid}}" (From setting this value earlier a menu will appear with the value):
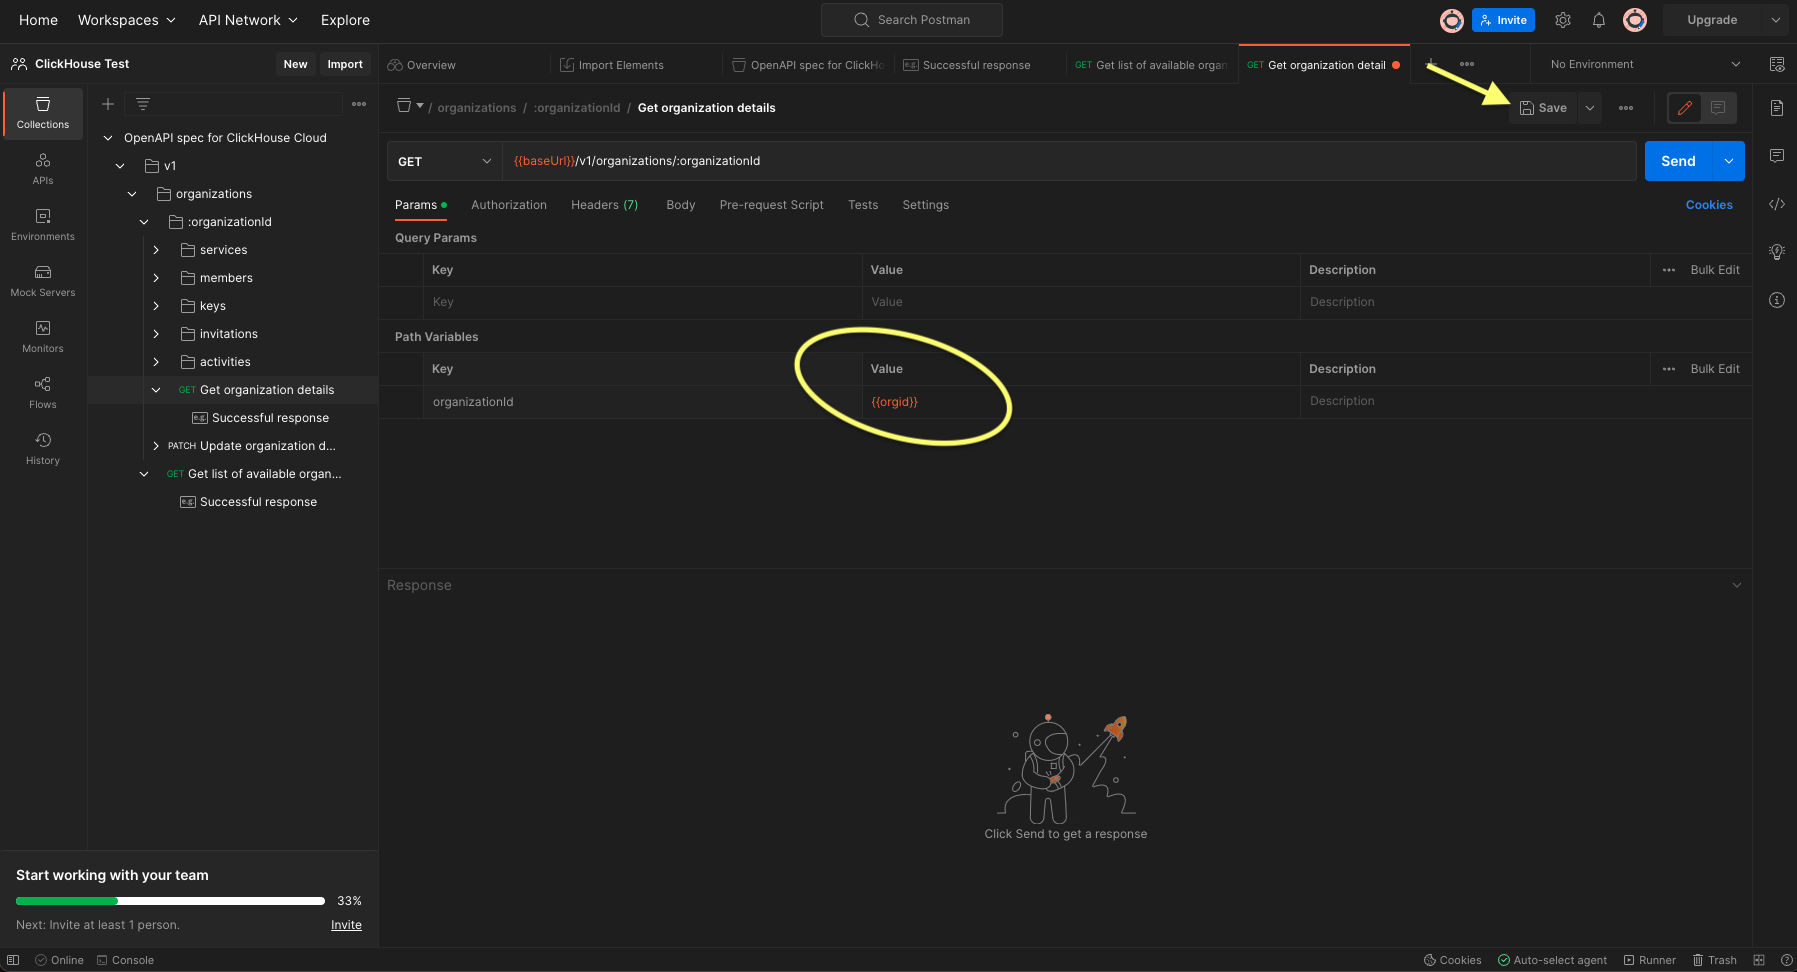
- After pressing the "Save" button, press the blue "Send" button at the top right of the screen.
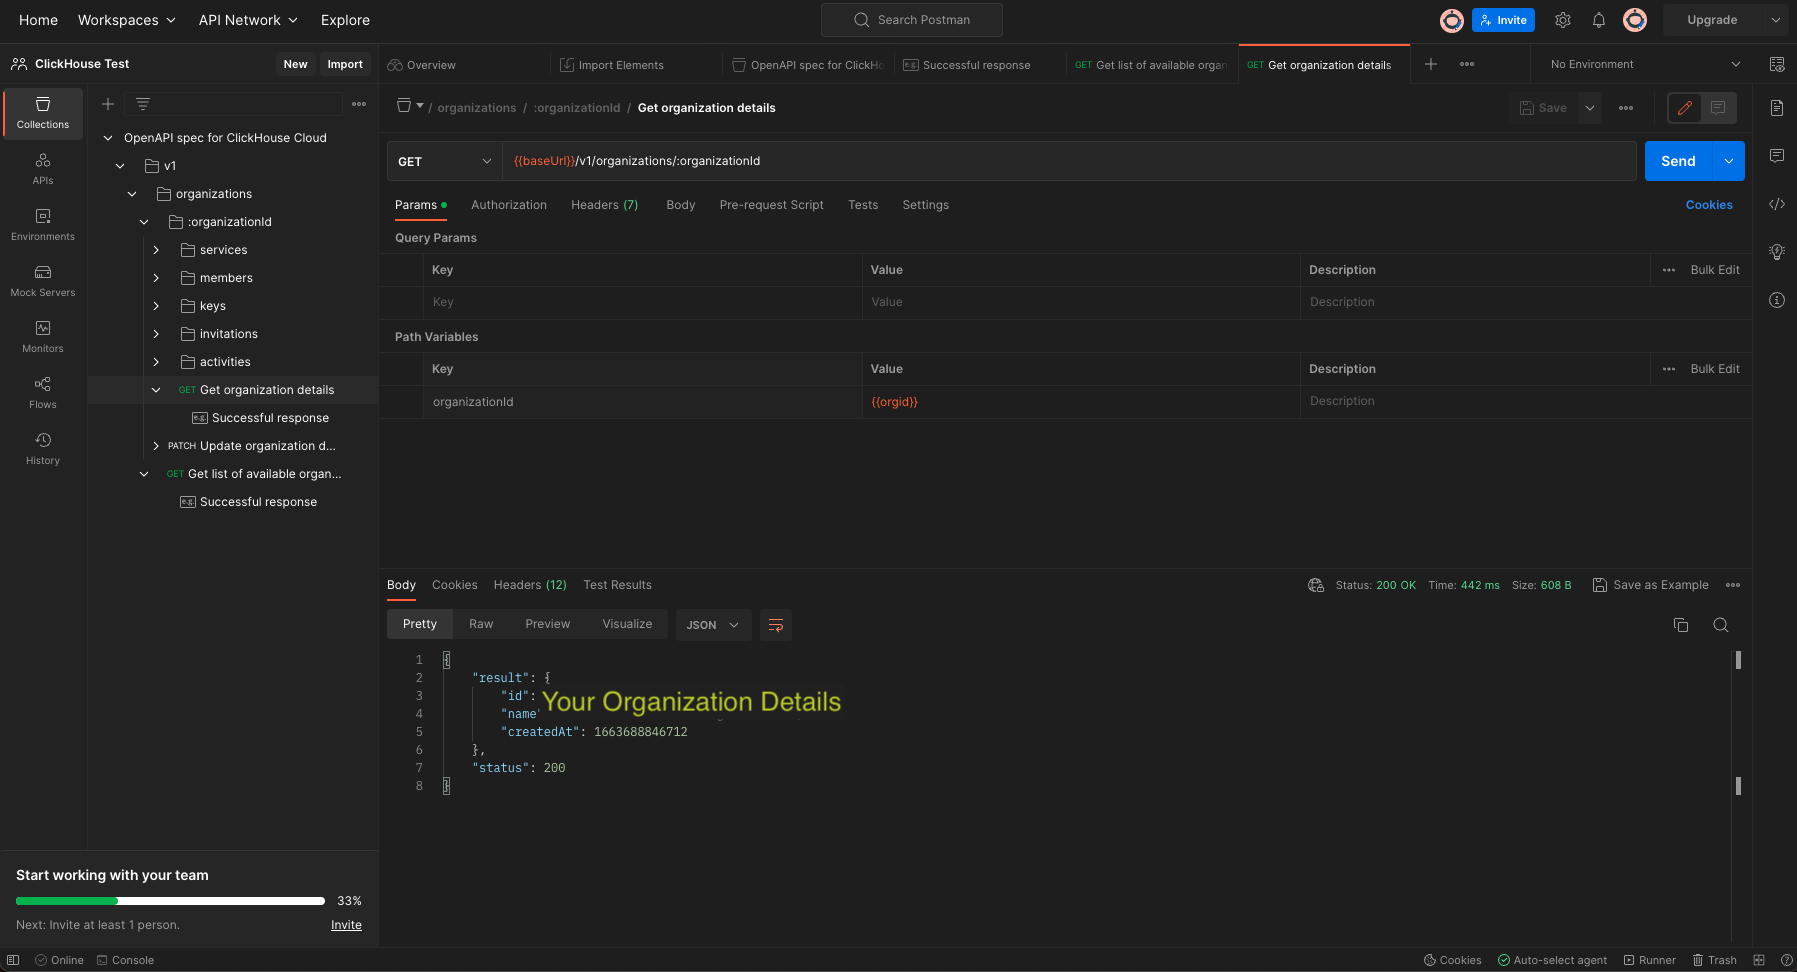
- The returned results should deliver your organization details with “status”: 200. (If you receive a “status” 400 with no organization information your configuration is not correct).
Test "GET service details"
- Click “GET service details”
- Edit the Values for organizationid and serviceid with {{orgid}} and {{serviceid}} respectively.
- Press “Save” and then the blue “Send” button on the right.
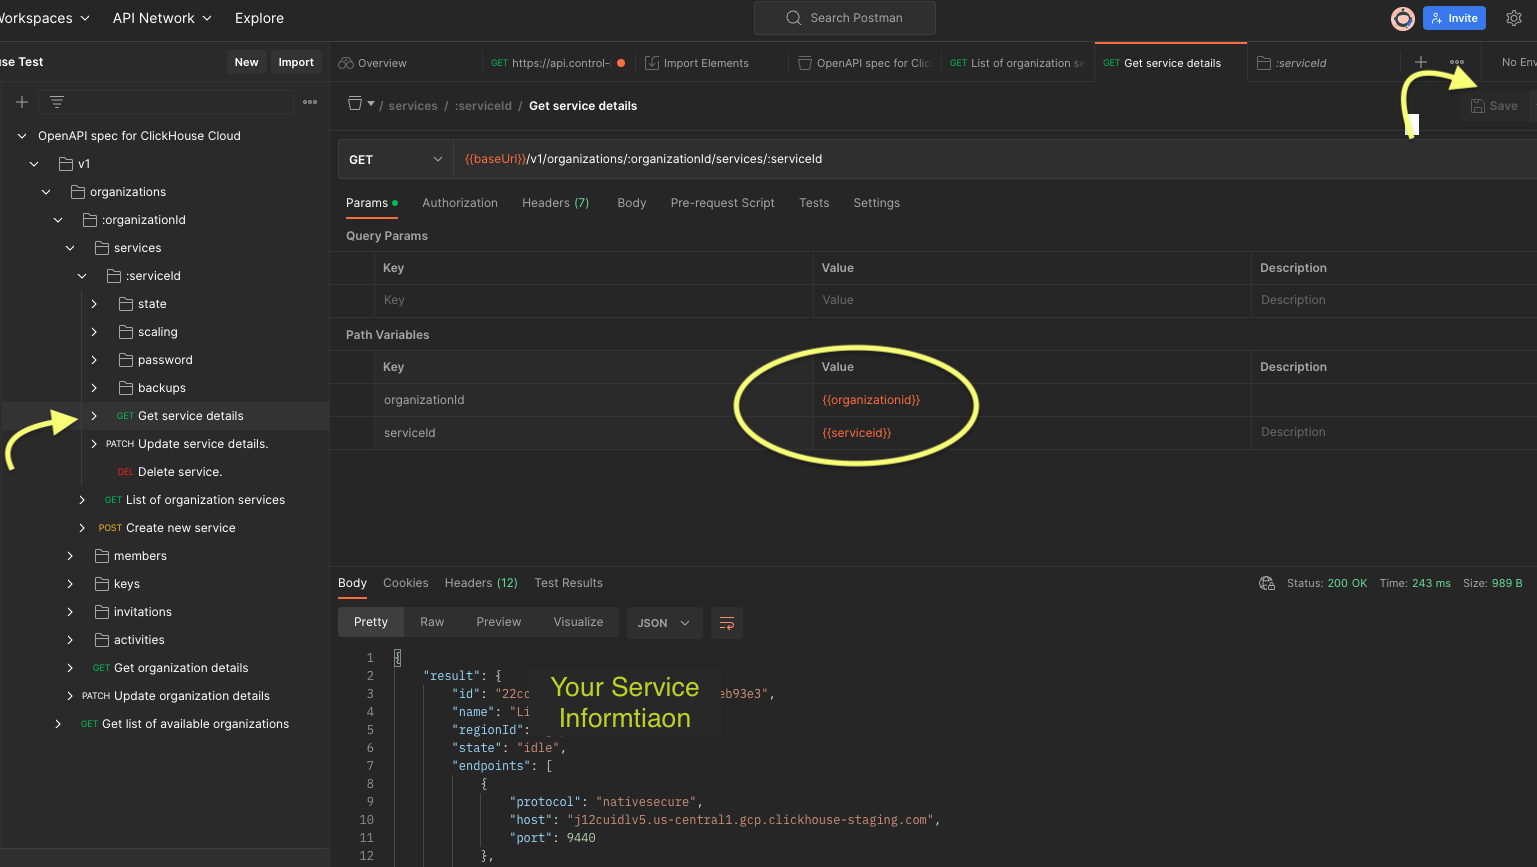
- The returned results should deliver a list of your services and their details with “status”: 200. (If you receive a “status” 400 with no service(s) information your configuration is not correct).